First I would suggest you have a good read of http://technet.microsoft.com/library/gg682075.aspx as this details the compatibility between different versions of configuration manager. Things are a lot simpler if you are only running a single server but even so it is worth a read. It is only possible to upgrade your configuration manager hierarchy to 2012 R2 from 2012 so if you are running an earlier version you will need to upgrade to 2012 first.
There are also a number of pre-upgrade checks and tasks to complete which are detailed here: http://technet.microsoft.com/en-US/library/jj822981.aspx#BKMK_PlanningR2Upgrade I would also strongly suggest you don’t attempt an upgrade unless all site servers are showing as healthy.
Hopefully you will already have an offline copy of the 8.1 ADK to install, but if not you can download it here: http://www.microsoft.com/en-gb/download/details.aspx?id=39982 I would suggest getting the offline download going ahead of the upgrade as it is a large file and could delay your upgrade if you have a slower internet connection.
Any default collections which have been customized will be overwritten with the default collection configuration. Either document their current custom configuration so you can re-apply it later or (my preferred method) is to create new custom collections and leave the default ones alone.
If you have a large Configuration Manager setup with a CAS you will need to do this server first and then work your way down the hierarchy and onto the primary sites.
It would also suggest that you check the connectivity between all of your system center servers, I’m sure you would notice quite quickly if you did have connectivity problems but it does surprise me how often this can be an issue. You can use Powershell to accomplish this e.g. Test-Connection -Source siteserver1, siteserver2, siteserver3 -Computername siteserver1, siteserver2, siteserver3
As documented on TechNet do backup your site SQL databases and do disable all maintenance tasks which may run while the upgrade is in progress. These steps will help you avoid a failed upgrade and assist you in recovering from one if it does fail. The list of maintenance tasks can be found in “Administration” > “Site Configuration” > “Sites” > Highlight your site > and click on “Site Maintenance” on the ribbon. You can click on edit to check the schedule of a task and determine if it is likely to run during your upgrade. I would suggest you document any changes made so that you can revert them after the upgrade.
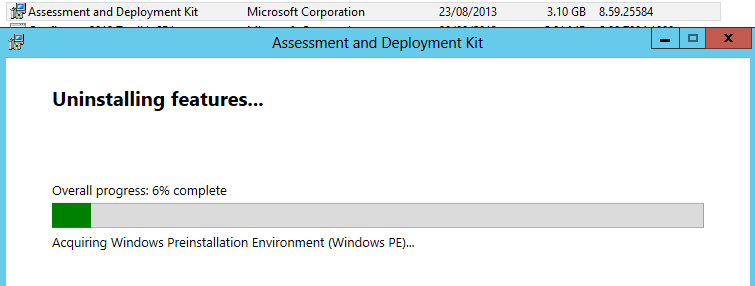
1. Remove the Windows 8 ADK.
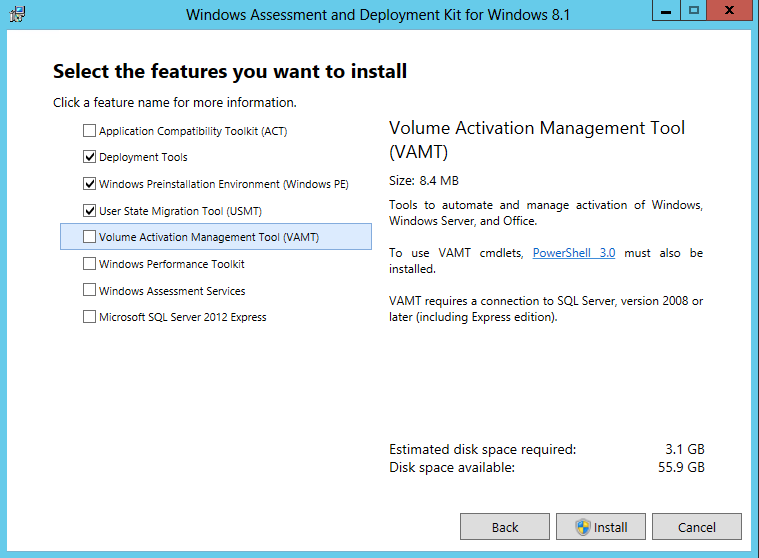
2. Install the Windows 8.1 ADK (See above for download link.) you will only need the Deployment tools, Windows Preinstallation Enviroment (Windows PE) and User State Migration Toolkit (USMT).
3. It is not required but I would suggest you restart the server after the ADK install to clear any pending actions as I have in the past seen upgrades fail due to this.
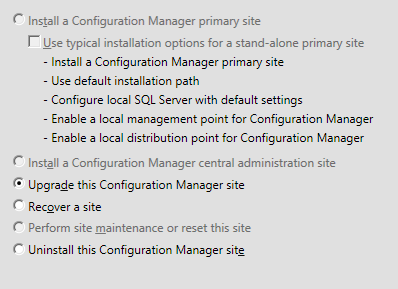
4. Now you are ready to run setup from the System Center Configuration Manager 2012 R2 Disk. The steps within the wizard are reasonably straight forward. Simply select “Upgrade this Configuration Manager Site” and accept the various terms and conditions.
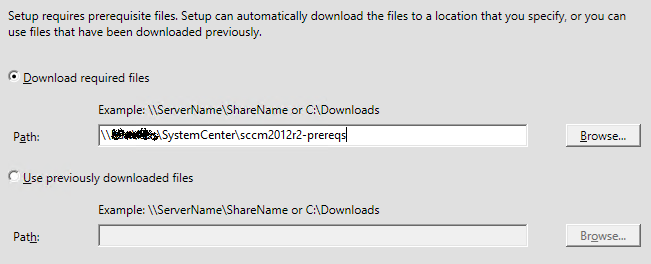
5. Next I would suggest downloading the required files to a UNC share so you can use them again for future upgrades.
6. Once the files complete downloading, select the required languages and then click next and review any warnings or errors from the pre-requisite checker. If you are performing this upgrade on lower specification machines in a lab you will likely get warnings about available memory. These can be ignored if it is not a production environment.
7. Once the pre-requisite checker is happy you can start the install. I would go and make yourself a cup of tea, go to lunch or carry on with other work as it will likely take some time to complete.
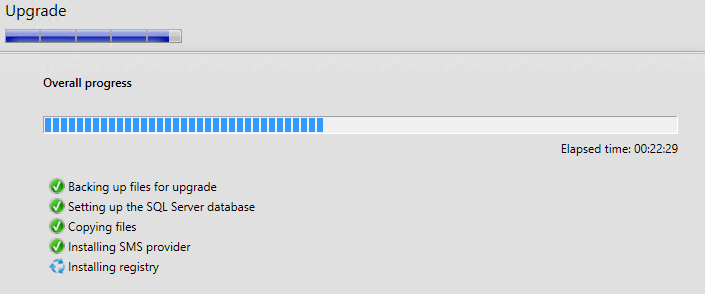
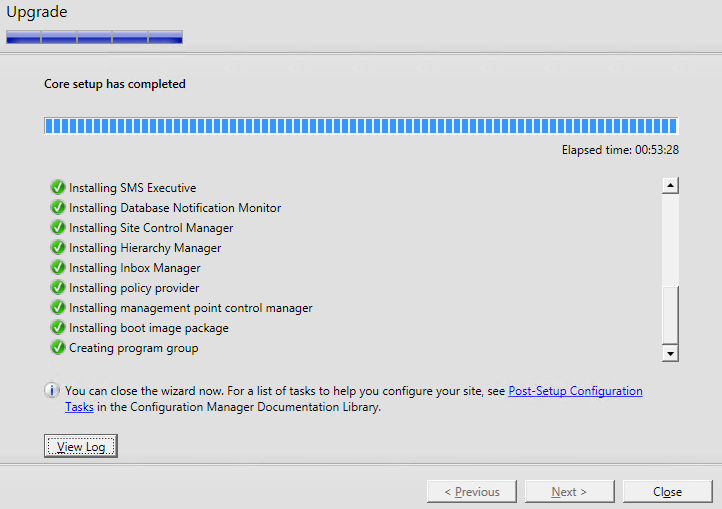
8. If the upgrade is successful you can move on to the post update configuration tasks or upgrading your other primary sites but if you encountered any errors or a failure click the View log button and take appropriate remedial action. I would suggest saving the setup log file even if you had a successful upgrade as it can prove useful later on in troubleshooting or to compare between successful and failed upgrade logs.
Post Upgrade Tasks
1. Upgrade any stand-alone consoles you have installed, for example on management servers or workstations. Don’t worry about the Configuration Manager server itself, this will already be updated.
2. Either let the Automatic Client upgrade process do its stuff and keep a watchful eye on it over the next few days or manually push out the updated client from System Center.
3. Test that some of the core functionality is still working, try deploying some content and check that you are still able to PXE boot and deploy operating systems. Sometimes it is necessary to re-create task sequences.
4. Check the boot images are 6.3.9600.16384 (or later if using a later version of the ADK) as this is required to support 2012 R2 and 8.1 deployments. If not just create and import new boot images.
5. All your remote sites should have been upgraded as well, check that they are still working correctly and if not check your sitecomp.log file.


