Installing .NET 3.5 on Server 2012 and 2012 R2

.net 3.5 is still often required but the resources to install it are by default absent from the windows installation.  If you have internet connectivity this isn’t such an issue as the files are simply pulled down from microsoft but if you are performing an offline build or are in a dev/secure environment with no connectivity or heavily filtered it can be problematic.

Personally I find the fastest method is to mount/insert the 2012 installation media and install the feature with DISM.  Open an elevetates (run as admin) command window.

dism /online /enable-feature /featurename:NetFX3 /all /Source:d:\sources\sxs /LimitAccess

Simply change “d” to match the drive letter your install media is available at.

Dism install


If the GUI is more your sort of thing simply run the “Add roles and features” wizard and select the .NET 3.5

Click next and locate the “Specify and alternate source path” link at the bottom of the window.  Click this.


alternate source


In the window that loads type in the path to your side-by-side folder on the installation media.

alternate source window


Click on OK and on Install to start .NET 3.5 installing.

Upgrading System Center Configuration Manager to 2012 R2

First I would suggest you have a good read of http://technet.microsoft.com/library/gg682075.aspx as this details the compatibility between different versions of configuration manager.  Things are a lot simpler if you are only running a single server but even so it is worth a read.  It is only possible to upgrade your configuration manager hierarchy to 2012 R2 from 2012 so if you are running an earlier version you will need to upgrade to 2012 first.

There are also a number of pre-upgrade checks and tasks to complete which are detailed here: http://technet.microsoft.com/en-US/library/jj822981.aspx#BKMK_PlanningR2Upgrade I would also strongly suggest you don’t attempt an upgrade unless all site servers are showing as healthy.

Hopefully you will already have an offline copy of the 8.1 ADK to install, but if not you can download it here: http://www.microsoft.com/en-gb/download/details.aspx?id=39982 I would suggest getting the offline download going ahead of the upgrade as it is a large file and could delay your upgrade if you have a slower internet connection.

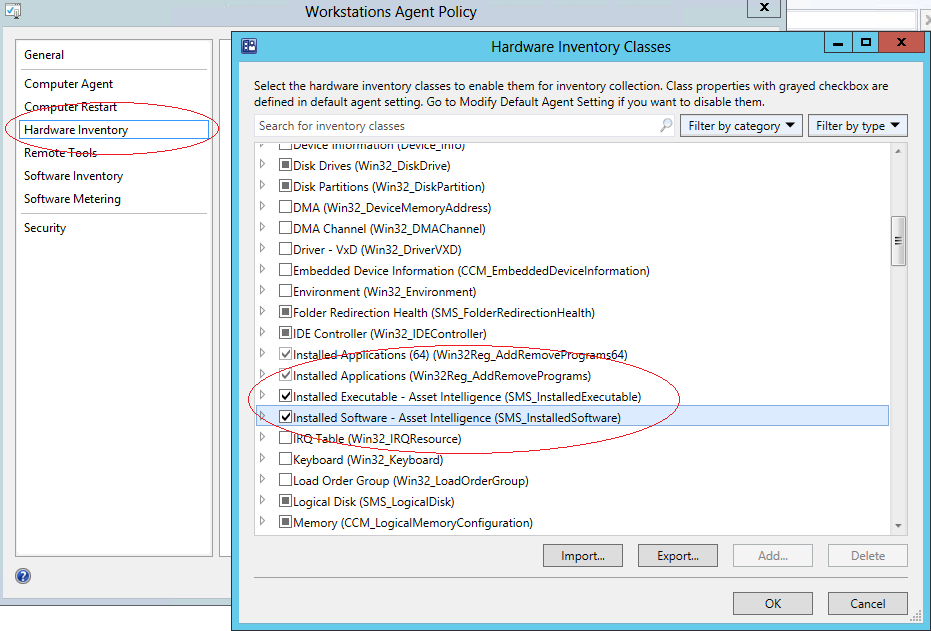
Any default collections which have been customized will be overwritten with the default collection configuration.  Either document their current custom configuration so you can re-apply it later or (my preferred method) is to create new custom collections and leave the default ones alone.

If you have a large Configuration Manager setup with a CAS you will need to do this server first and then work your way down the hierarchy and onto the primary sites.

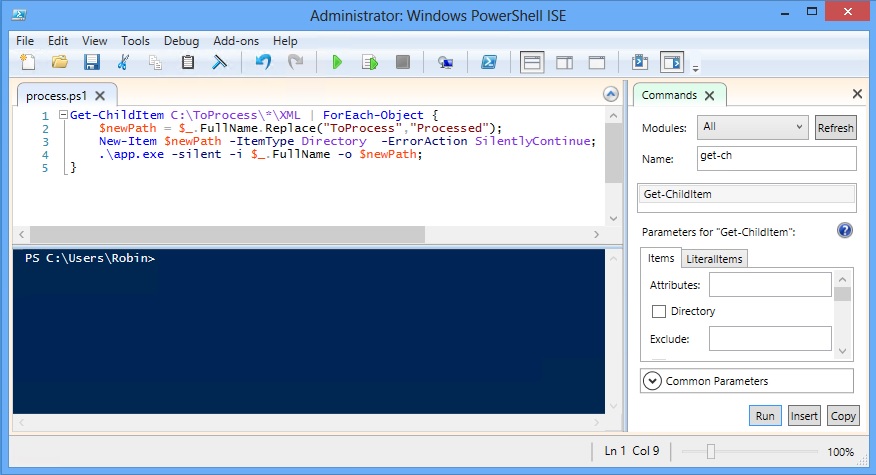
It would also suggest that you check the connectivity between all of your system center servers,  I’m sure you would notice quite quickly if you did have connectivity problems but it does surprise me how often this can be an issue.  You can use Powershell to accomplish this e.g. Test-Connection -Source siteserver1, siteserver2, siteserver3 -Computername siteserver1, siteserver2, siteserver3

As documented on TechNet do backup your site SQL databases and do disable all maintenance tasks which may run while the upgrade is in progress.  These steps will help you avoid a failed upgrade and assist you in recovering from one if it does fail.  The list of maintenance tasks can be found in “Administration” > “Site Configuration” > “Sites” > Highlight your site > and click on “Site Maintenance” on the ribbon.  You can click on edit to check the schedule of a task and determine if it is likely to run during your upgrade.  I would suggest you document any changes made so that you can revert them after the upgrade.

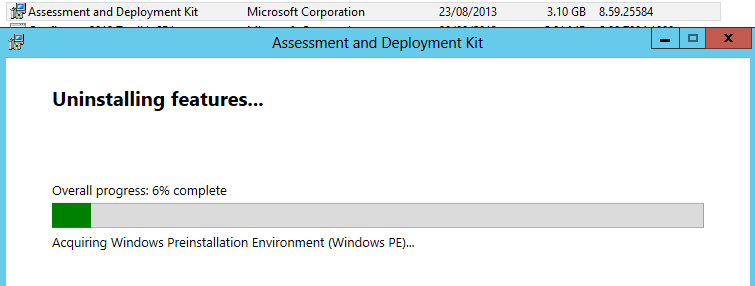
1. Remove the Windows 8 ADK.

1.uninstall windows pe

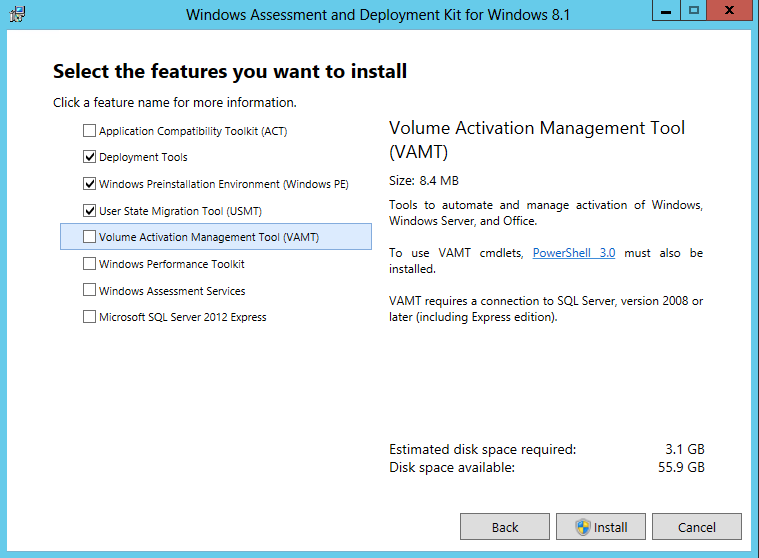
2. Install the Windows 8.1 ADK (See above for download link.) you will only need the Deployment tools, Windows Preinstallation Enviroment (Windows PE) and User State Migration Toolkit (USMT).

2.install windows pe

3. It is not required but I would suggest you restart the server after the ADK install to clear any pending actions as I have in the past seen upgrades fail due to this.

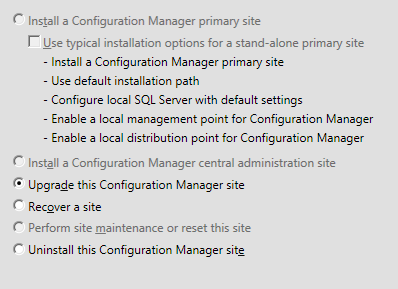
4. Now you are ready to run setup from the System Center Configuration Manager 2012 R2 Disk.  The steps within the wizard are reasonably straight forward.  Simply select “Upgrade this Configuration Manager Site” and accept the various terms and conditions.


3. upgrade site

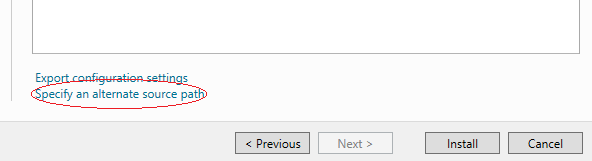
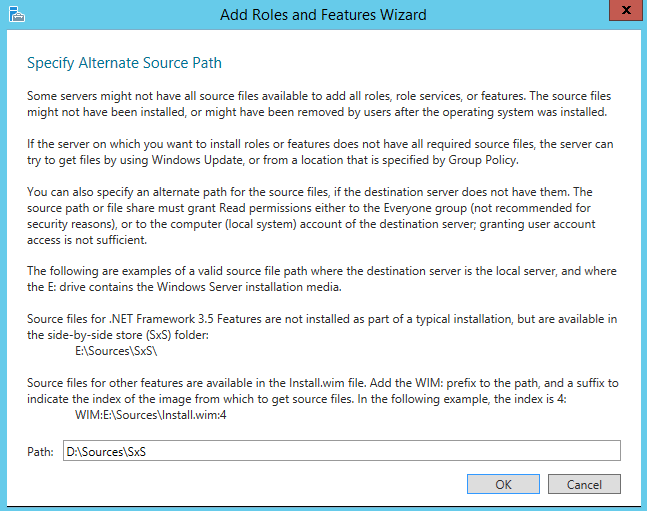
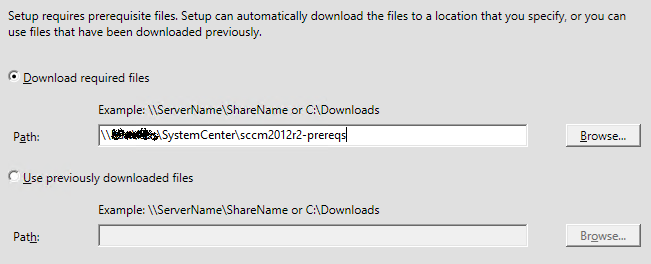
5. Next I would suggest downloading the required files to a UNC share so you can use them again for future upgrades.


4. download pre-reqs

6. Once the files complete downloading, select the required languages and then click next and review any warnings or errors from the pre-requisite checker.  If you are performing this upgrade on lower specification machines in a lab you will likely get warnings about available memory.  These can be ignored if it is not a production environment.

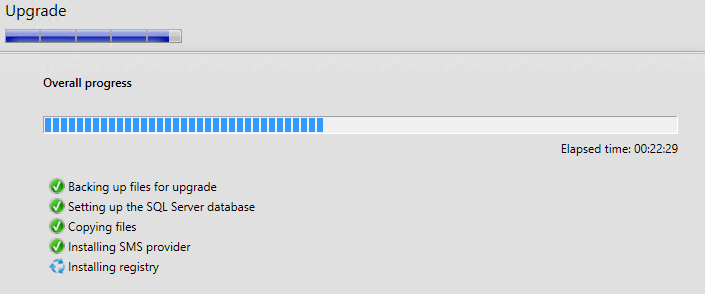
7. Once the pre-requisite checker is happy you can start the install.  I would go and make yourself a cup of tea, go to lunch or carry on with other work as it will likely take some time to complete.


5. upgrade in progress

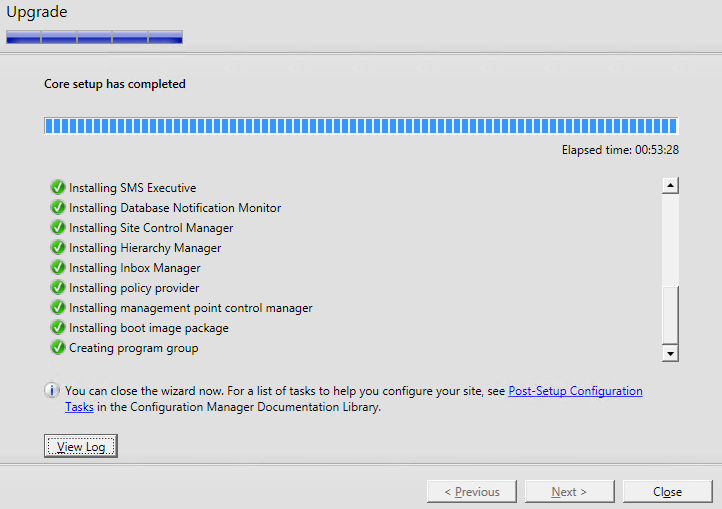
8. If the upgrade is successful you can move on to the post update configuration tasks or upgrading your other primary sites but if you encountered any errors or a failure click the View log button and take appropriate remedial action.  I would suggest saving the setup log file even if you had a successful upgrade as it can prove useful later on in troubleshooting or to compare between successful and failed upgrade logs.


8. complete

Post Upgrade Tasks

1. Upgrade any stand-alone consoles you have installed, for example on management servers or workstations.  Don’t worry about the Configuration Manager server itself, this will already be updated.

2. Either let the Automatic Client upgrade process do its stuff and keep a watchful eye on it over the next few days or manually push out the updated client from System Center.

3. Test that some of the core functionality is still working, try deploying some content and check that you are still able to PXE boot and deploy operating systems.  Sometimes it is necessary to re-create task sequences.

4. Check the boot images are 6.3.9600.16384 (or later if using a later version of the ADK) as this is required to support 2012 R2 and 8.1 deployments.  If not just create and import new boot images.

5. All your remote sites should have been upgraded as well, check that they are still working correctly and if not check your sitecomp.log file.

Configuration Manager 2012 Inventoried software: No items found

It seems to be a fairly common occurrenc:  SCCM 2012 is up and running, you have even pushed the client out to all your computers but for some reason the “Inventoried Software” page is empty and stays empty despite waiting long enough for the schedule to have completed several times over.

noitemsfound
First make sure that software inventory is enabled in your client policies, it should be by default.   Next mare sure that inside “Hardware inventory” you have ticked the various software classes:

sccm-inventory-blank1


Once this has been added it is simply a case of waiting for the policy to apply and for the inventory schedule to collect the necessary information.  I find the default 7 day cycle absolutely fine for every day use, but a pain if you have just made a change and want to see quick results.  It is possible to force an inventory cycle for an individual client/computer by running ccmsetup.exe /uninstall and then re-installing the client.  If this works and the installed software is displayed for this one machine then you should be OK to simply wait and let the other clients roll in as scheduled.  If you want/need more instant gratification and features give this tool a go https://sccmclictr.codeplex.com/ If you have checked the Agent policy as above but you still aren’t getting results, it is also worth checking the InventoryAgent.log for SMS_InstalledSoftware and related errors.

Windows Server 2012: Thoughts so far

When I first booted up into windows server 2012 I genuinely couldn’t believe my eyes.  The user interface formerly known as metro?  On a server?  Who is going to have a touchscreen on a server?  But slowly, it starts to make sense.  When you open the start menu it is usually because you are looking to start an application or configuration console from a shortcut, and with the old start menu the rest of the screen is somewhat redundant.  Not any more; every icon in the menu now fills the entire screen and the Win key + search term combo stills works so I am happy.  The only thing I miss is the ability to shift and right click on an item to run it as another user; now I have to pin it to the task bar and go to the desktop to do so.  A minor inconvenience, but an inconvenience none the less.

metro 2012 gui

Now on to some of the amazing new features of 2012: I love the ability to team network interfaces at the OS level.  Previously, you were at the whim of your network card drivers to achieve any kind of teaming, whereas now you can use whatever network interfaces you like to create a bit of redundancy and/or failover.  I can’t say enough good things about the new server manager either; it makes adding roles and features a breeze, particularly when compared to previous versions.  You can quickly and easily add a role or make a change to entire clusters of servers from one server manager console.

server 2012 manager

The new resilient file system, and in particular the Deduplication feature of 2012, look very exciting and I suggest everyone tries building a test 2012 server and moving their file shares to it, just to see how much space you could save with deduplication.  Actually using it in production could be a little trickier as it requires backup solutions that are Deduplication aware ,or else on a restore you may find yourself rapidly running out of space or encountering other issues.  I don’t imagine it will be long before vendors include support for this feature.  Another great new feature of the resilient file system is that you can now run check disk online; never again will you have to restart and wait while check disk trawls tediously through a volume before the operating system starts. The new resilient file system also does not re-use the same disk blocks during a write, so if there is a power outage or other failure, the original data will still be readable.

PowerShell 3 is touted to have over 2,400 command-lets and to be honest I am only starting to scratch the surface of what is now available, but it is safe to say that if you liked PowerShell in 2008 R2,  you will love it in 2012.  A useful trick I use to learn more about PowerShell is to first configure something in the GUI and then hunt through the PowerShell logs in event viewer to see all the actual commands that were run.  Also dont forget to check out the new PowerShell 3.0 ISE.

PowerShell 3.0 ISE

There are other less tangible improvements such as boot time; it certainly feels a lot quicker to be up and running than previous versions.

There are a few gotchas.  For example, while deploying a new Lync 2013 environment I discovered that 2012 has much tougher certificate requirements, and even a single non self-signed certificate in the “Trusted CA” certificates folder was enough to upset the reset of the certificates in the personal store. So if you are planning to move to 2012 any time soon, now is a great time to think about cleaning up your certificates and rationalising any you have pushed out via group policy.  Another issue I faced was with a core edition server which had many updates applied.  I then tried to install the server GUI and found myself unable to do so, I would recommend that you build all servers with the GUI, update them and then uninstall the GUI so that you have the option of re-adding it later should you so desire.  The new “Minimalism” interface offers a reasonable compromise if the core is a little to extreme for you but you want to realize the benefits of a lighter footprint.

Hyper-v is now in its 3rd generation and each new version feels a little more mature and stable, and if you are already paying for datacentre licenses for your hosts this new version makes it harder than ever to justify paying for a competitor’s Hyper-visor when this is already included in your datacentre licenses.  Unfortunately I have not yet built a 2012 Hyper-v cluster, but even running it on single hosts I can see improvements. Additionally, running native hyper-v guests means that you can always export them to Azure, either for a bit of extra capacity or as a backup/DR solution.  My only gripe is that the new Hyper-v management tools can’t manage older 2008 R2 Hyper-v hosts, but I guess that is one of the prices of progress.

hyper-v manager 2012